Stamps and swirls

Don't you LOVE new polishes?  I recently ordered Zoya "Neely", a delicate minty green from Zoya's Spring 2013 collection.  I used two, perfectly formulated coats for the base of today's look.  Stamped over it is Neely's darker, older sister "Wednesday" from Zoya's Summer 2012 collection, and I've accented with freehand brushing of Color Club's "SweetPea" from last year's Spring collection.  
(Close up shot!!!)
0

Spring Fever: Love&Beauty "Baby Blue/Hot Pink"

Hello lovelies!   I've decided to do a "Spring Fever" series over the next month-ish, and invited a few amazing bloggers to do some guest posts as well!  As you may or may not know, I'm having another baby boy any day now (see, tying the blue in here...) and so between some of the posts I've got stored up for you and my friends from the polish community, you'll be seeing a lot more here!  

On to a review of another of the "love&beauty" polishes I picked up recently, "Baby Blue/Hot Pink" has become my favorite from that trip.  It took me off guard, because I'm usually a purple girl, but there's something enchanting about this color.  I layered it over two coats of Zoya "Kristen", which is a perfect match to the base color.  It's got lovely application, and I find myself wearing it as a regular manicure. 
(A match made in heaven!)


Aside from the sky-blue base, this one features holographic and magenta hexagons, 
and itty bitty indigo round glitters.   Seriously gorgeous!!!


And just for kicks...let's mattify it!


I hope you love it as much as I do.   And I'm really looking forward to sharing some of my favorite spring colors, trends, and nail art with you!   I'm also so excited for you to meet some of my favorite bloggers, and experience their favorites with you!  <3

3

Plum Lovin'!

Love and Beauty "Purple/Multi"

Gotta love the thought they put into these names, eh?  However, for the prices and indie-like quality of some of their creations, the polish world has embraced Forever 21's polish collection.  I'm in love with this one - being partial to purples, the jelly plum base stole my heart, despite a slightly finicky formula.


You see, one coat hardly dispersed any glitter, and was a rather streaky mess.   I'd guess it could benefit from some thinner, but I've currently got none, so I can't test the theory.

The second coat placed a lot more of the hexes though - all the same size, but a number of colors - blush, magenta, emerald, sapphire, and gold.   Really eye catching and fun!  Plus, the base deepens to this luscious color I can't help but adore.

I also recently picked up China Glaze "Matte Magic", so I threw a coat of that over the final product.  This really brings out the colors of the hexes...love it!


4

Curious Kitties

These curious kitty nails were inspired by pinterest!
 The pin was a tutorial for a cute shoe makeover, but of course, I felt called to adapt it to my fingers instead!  The original source and tutorial (which can be followed pretty directly for these nails) can be found at Kittenhood.  I would suggest using striping tape instead of painter's tape on your nails, though!  


I used Zoya "Dea" for the brown, Fingerpaints "Black Expressionism" for the black, and Zoya "Purity" for the white details.  Followed by some Seche Vite, and China Glaze "Matte Magic" over the brown for a nice contrast of textures.


Meow!


2

Inspired by: Rhapsody Earrings I now must own.


I was flipping through the catalog of a jewelry party my girl over at Mommy Does Her Nails place, for a party she is hosting next month, and I totally fell in love with these earrings. I knew I had to try to recreate their hypnotic effect on my nails...I think I came pretty close!

If you're unfamiliar with the Saran Wrap technique for nail art, I used this one as a starting point.  I was out of plastic wrap, but I found a torn up grocery bag to be an acceptable substitute.

The Lineup:  Sally Hansen "Burgundy Orchid" Nail Prisms, Zoya "Coraline", Sally Hansen "Crushed"


Layer 1:  Sally Hansen "Crushed"
(Sorry for the dry cuticles!)
2 coats of Sally Hansen "Crushed" over base coat.   The formula on mine is a bit thick, but I've had it a year or so and it doesn't get much use, so if you pick up a bottle from your local drugstore, it's probably pretty decent.
I thought, initially, this would work on it's own, but I needed it to be a little more orange - so I pulled out Zoya "Coraline" from the blogger collection (available only via Birchbox).  It's the perfect juicy orange jelly polish, and one thick coat brought the bottom layer of this manicure to the color I was aiming for.
Isn't that perfect?  Yummy, vibrant orange.

I used Sally Hansen "Burgundy Orchid" for the purple top layer - it's pretty sheer, so I had to goop on two messy thick coats before applying the crinkled bags - here's a photo:
We worry about clean-up later, it's all about getting the pattern on the nail at this point.

The older formula of this polish was great for this one, because it didn't dry too fast - but I think it might be easier to get close with Zoya's "Stacy", which would probably only need one coat.  The finished effect was REALLY vibrant, mesmerizing...everything I love on the earrings.   I call this one a success!

Right hand (indoor)
 
Left Hand (outdoor, shade)


2

Gold and Green: days 2 and 3 of the advent challenge!

Post number two for today to get current:  I've got my manicures for "gold" AND "green" to share with you!  Are you excited yet?  First up is day two's challenge, "gold".  Now, I'm not much of a gold person but I have been wanting to do something using pigment powders I have inspired by something I saw on pinterest.  

 I used my brand new Nubar "Indigo Illusion" as the base...two coats of this magical, shifting polish that I received from a birthday club I joined this year.   As soon as I saw it, I knew it needed to be on my hands.
I'm sure you can see why:


For the gold effect, I placed a very small amount of gold pigment powder at my cuticles, and blew it onto the second coat of wet polish.  Then, it was just a matter of sealing the whole thing with topcoat!  If you're on the lookout for this combo, I'll show you what you're keeping your eyes out for.


And here's one more shot of this combo, at another light angle to show off the magic shift of this polish!


Now, onto "green", our theme for day 3.  I chose another new one from my birthday group, Hare Polish's "Asteroid Turf".  This polish is Christmas in a Seussian way, a grinchy green with some "Whoville" purples thrown in.  How fun is that?


I hope you and yours are finding joy this season! 

0

Red: Day 1 of Hap Hap Happy Hands' Advent challenge

Hi all!   I'll be playing catch up today, because I've decided to participate in Hap Hap Happy Hands' Advent Calendar challenge.   I actually did the first day ahead of time, but I haven't had time to post until now.

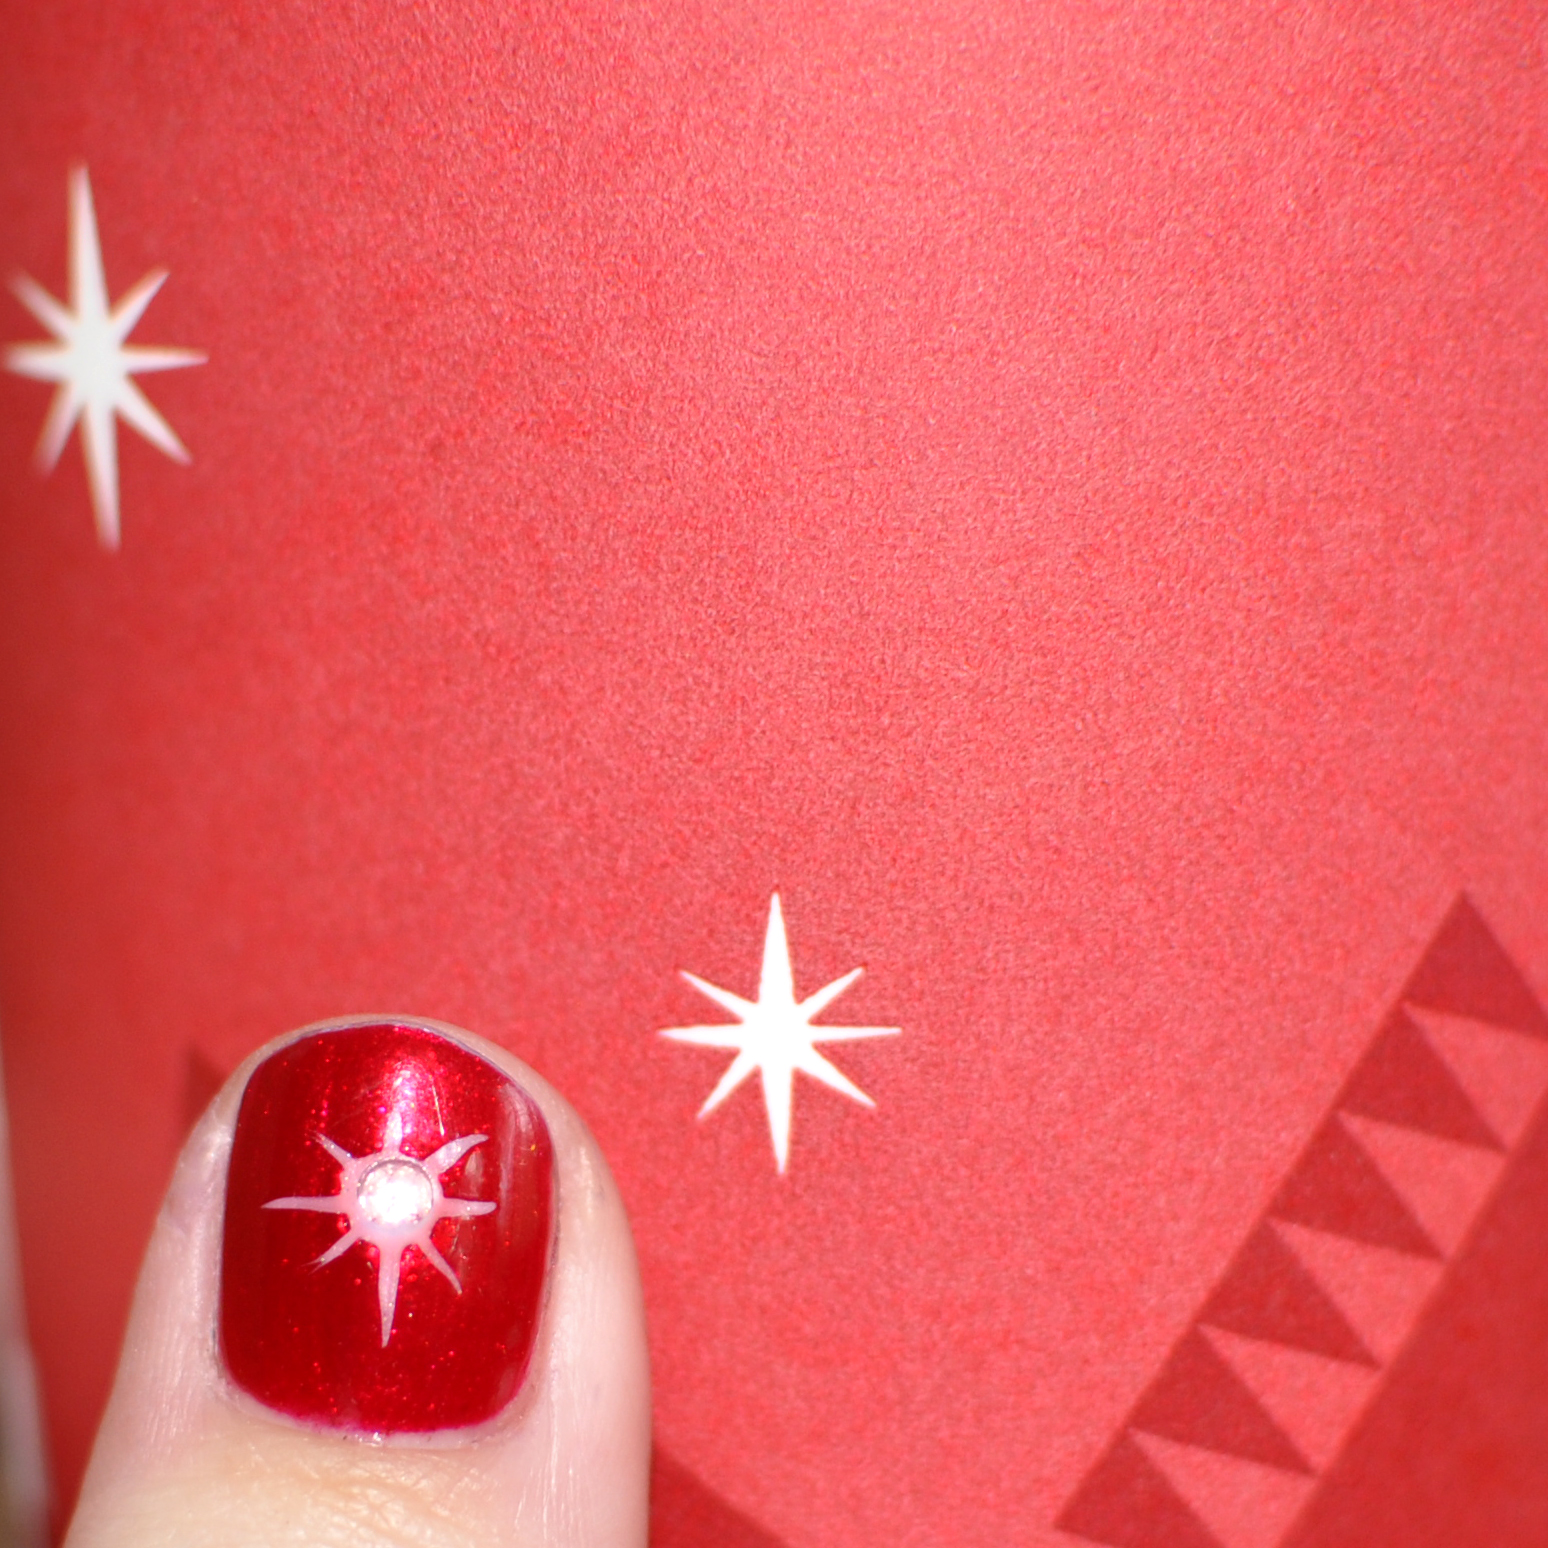
Day 1 is red.   I knew as soon as I saw this that I wanted to use one of my favorite reds that I haven't touched since last winter, Sinful Colors "Sugar Sugar".  It's a gorgeous bright winter red, with a unique sparkle shimmer within.  I also knew that my "red" manicure would be inspired by one of my favorite red holiday things...the holiday cups at Starbucks!     Here's a peek...


For the white, I used Zoya Christinna.  In hindsight, I need to try using acrylic paints instead, because it was too sheer and the red bled a bit into it, making it slightly pink as opposed to the stark white I was aiming for.  But, overall, I like it!  Here's the plan for the rest of this series:


 I am so excited to participate in this challenge, and I hope you enjoy following along!  Here's a few more shots of my "Day 1" nails!


Back to Top